
mad spatula
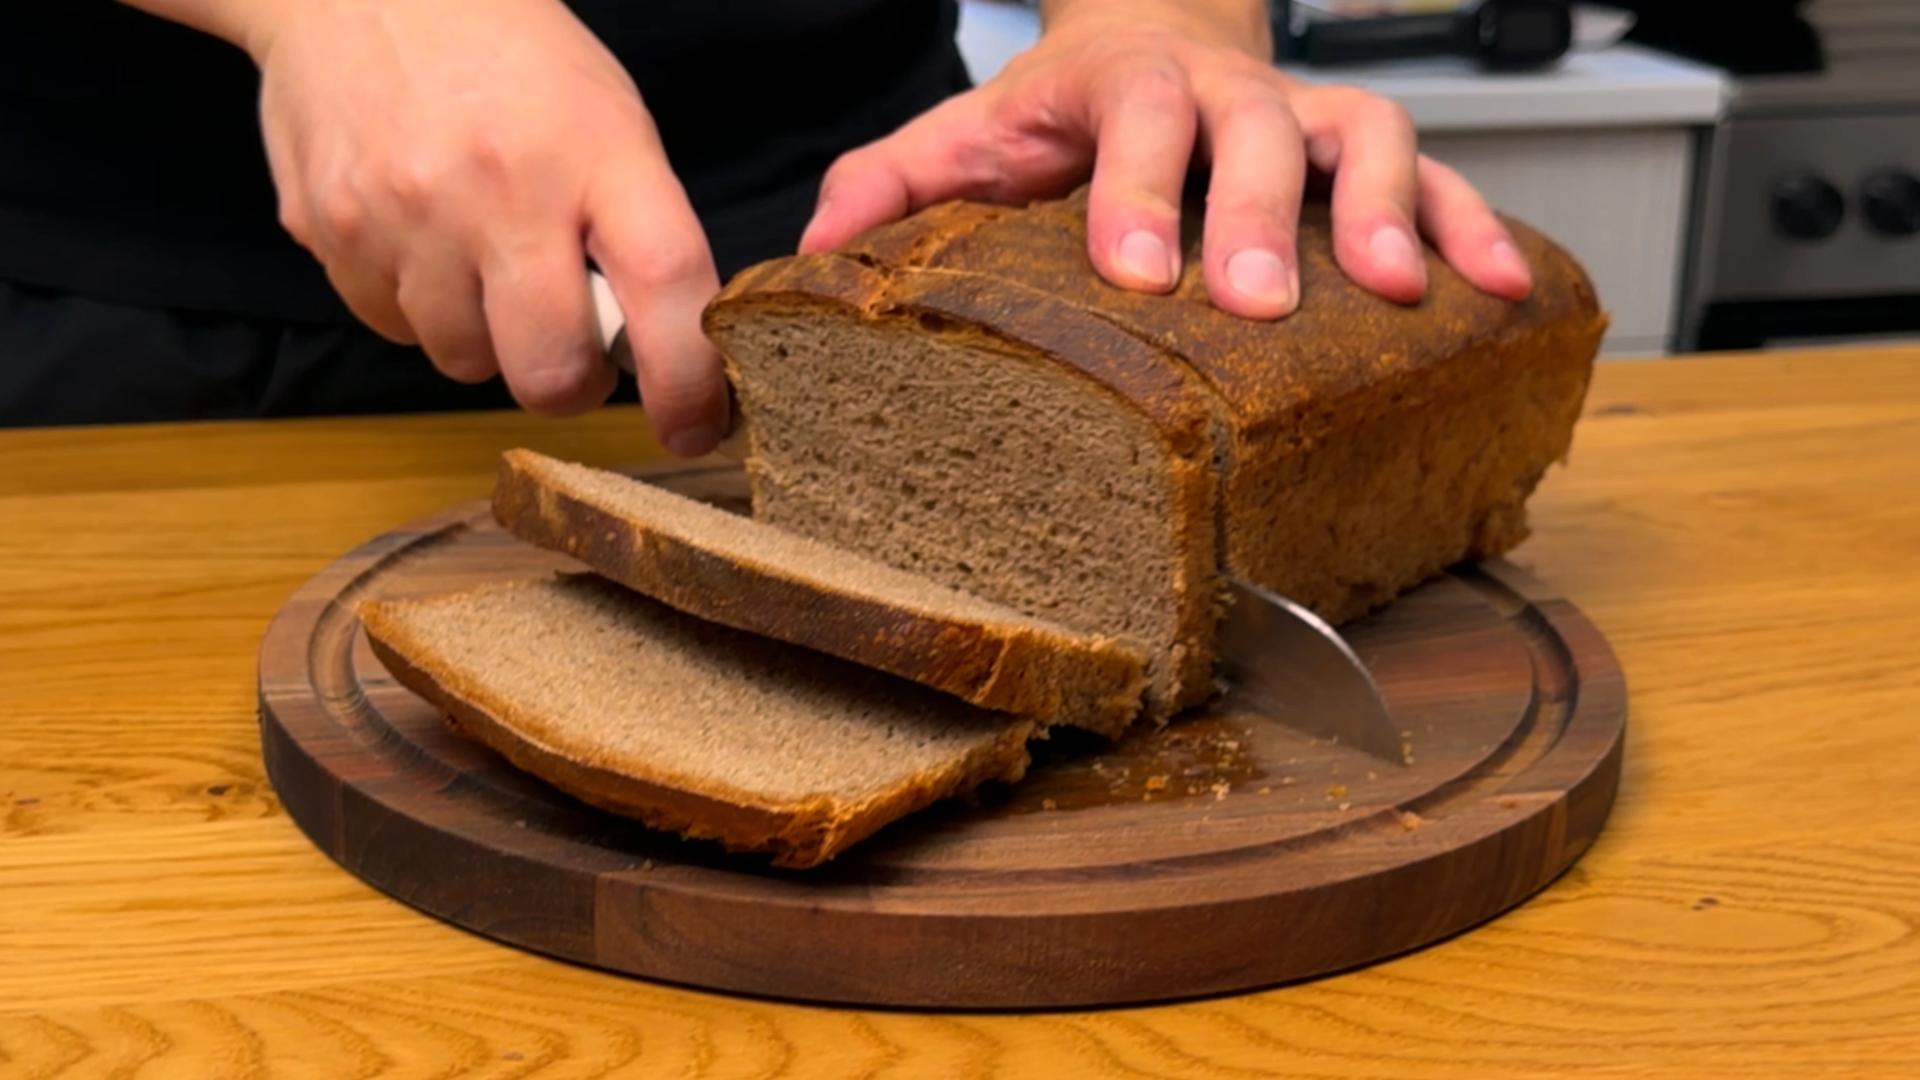
A close-up shot of hands using a knife to slice a loaf of whole wheat bread on a cutting board, with visible bread crumbs and grain texture.

No-Knead Whole Wheat Bread

If you want to make homemade bread without spending time kneading dough, this no-knead whole wheat bread is a simple recipe to try. Made with just four basic ingredients, it uses a few easy stretch-and-folds and an overnight rest in the refrigerator to develop the dough.

This is a 100% whole wheat bread with a hearty texture, soft interior, and beautifully golden crust. The dough is very wet and sticky, which is intentional. The high hydration helps keep whole wheat bread moist instead of heavy or dry, so resist the temptation to add extra flour.

The method is simple: mix the dough, let it rest, perform four quick stretch-and-fold rounds, and leave it in the refrigerator overnight. The next day, bring it to room temperature, give it one final fold, transfer it to a loaf pan, and let it rise before baking.

The long, slow fermentation gives the whole wheat flour plenty of time to hydrate and helps develop better flavor and texture. And because most of the time is hands-off, this overnight whole wheat bread is easy to fit into your routine.

Slice it for sandwiches, toast it with butter or olive oil, or serve it alongside soups, salads, and everyday meals.

Why You'll Love This Recipe

  • Only 4 ingredients, all pantry staples you probably already have
  • No mixer, no kneading, no special equipment required
  • Naturally vegan and dairy-free
  • Perfect crackly crust with a soft, airy interior
  • Mostly hands-off - the dough does the work while you go about your day
  • Great for beginners, yet impressive enough to serve guests
  • Freezes beautifully, so you can always have homemade bread on hand

Baker’s Pro-Tips Before You Begin

Before diving into the recipe, keep these three essential rules in mind to guarantee a perfect bake:

  • Embrace the Sticky Dough: Whole wheat flour absorbs a lot of liquid, but it takes time. The initial dough will look wet and shaggy - resist the urge to throw in extra flour, or your final loaf will turn out dense.
  • Wet Your Hands, Not the Counter: When performing stretch-and-folds, dip your fingers in cool water rather than coating the dough in extra flour. This prevents sticking without altering the hydration ratio.
  • Patience is Key for Cooling: Never cut into a whole wheat loaf while it is still warm! Whole wheat needs at least 1 to 2 hours on a wire rack to finish setting its interior crumb. Slicing too early traps steam and leads to a gummy texture.
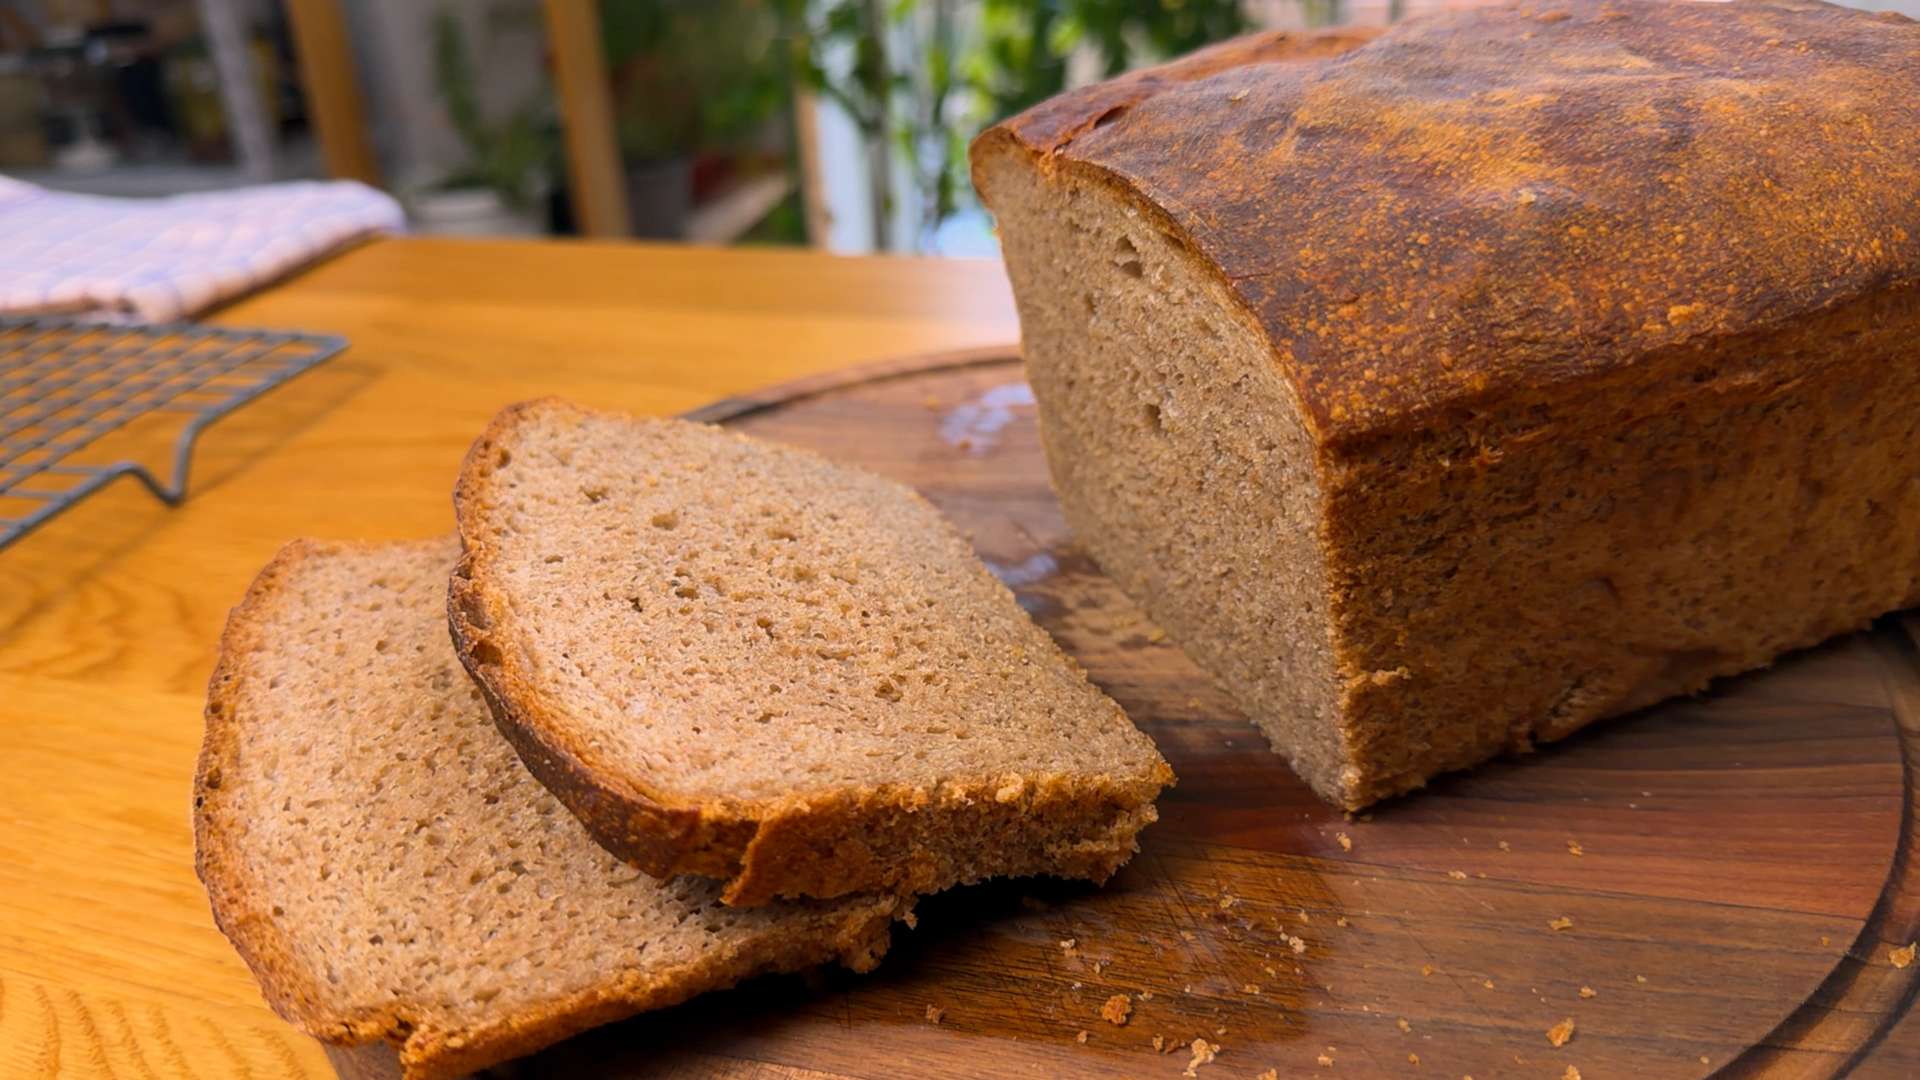
A freshly baked whole wheat bread loaf on a cutting board with two slices cut off, showing its soft texture.

Curious About the Hydration?

This recipe uses a high-hydration dough, with about 92% hydration. That means there is 92 g of water for every 100 g of flour. It may sound high, but whole wheat flour absorbs more water than white flour, and the extra moisture helps create a softer, more tender loaf.

If you're adjusting bread recipes or simply want to understand how different amounts of water affect your dough, try our Dough Hydration Calculator.
Common questions

Recipe

20mPreparation
1hCooking
1h 20mTotal
12

Ingredients

Instructions

  1. 1

    Mix the Dough

    Add the whole wheat flour, dry yeast, and salt to a large bowl. Mix briefly to combine. Add the water and stir with a wooden spoon or sturdy spatula until all the flour is hydrated and there are no dry patches. The dough will be very wet and sticky. This is normal for this recipe, so resist the temptation to add extra flour.

  2. 2

    Refrigerate the Dough

    Cover the bowl tightly with a lid, reusable bowl cover, or plastic wrap and place it in the refrigerator. Let the dough rest for 30 minutes before the first stretch and fold.

  3. 3

    Perform the Stretch and Folds

    After 30 minutes, take the dough out of the refrigerator. With slightly wet hands, gently stretch one side of the dough upward and fold it over the center. Rotate the bowl 90 degrees and repeat on all four sides. Place the covered dough back in the refrigerator. Repeat this process 4 times total, every 30 minutes, returning the dough to the refrigerator between each round. The stretch-and-folds help develop the dough's structure without traditional kneading.

  4. 4

    Cold Fermentation

    After the fourth stretch and fold, cover the bowl and return it to the refrigerator. Leave the dough to ferment overnight, allowing the slow fermentation to develop its flavor and structure.

  5. 5

    Bring the Dough to Room Temperature

    The next day, remove the dough from the refrigerator and let it sit at room temperature for about 2 hours. The dough should become softer and more relaxed as it warms up.

  6. 6

    Shape the Dough

    After the 2-hour room-temperature rest, gently perform one final stretch and fold. Line the loaf pan with baking paper and carefully transfer the dough into it. Gently shape the dough as needed, but avoid overworking it. Cover and let it rest at room temperature for another 2 hours.

  7. 7

    Bake the Bread

    Preheat your oven to 200°C / 400°F. Bake the bread for 45 - 60 minutes, depending on the size and shape of your loaf. The bread is ready when the crust is deeply golden and the internal temperature reaches approximately 97°C / 207°F. If you have an instant-read thermometer, insert it into the center of the loaf to check the temperature.

  8. 8

    Cool Before Slicing

    Remove the bread from the loaf pan and transfer it to a wire rack. Let it cool completely before slicing. This allows the crumb to finish setting and gives you a better texture. For the cleanest slices, wait at least 1 to 2 hours before cutting.

Nutrition Facts

per 100 g serving
Calories
169
kcal
Fat
1.0g
Saturated
0.2g
Carbs
31.1g
Fiber
6.7g
Sugar
0.3g
Protein
5.8g
Salts
0.9g

Nutritional values are approximate estimates. If you have dietary restrictions or medical conditions, please consult a qualified healthcare professional before making changes to your diet.

Storage & Reheating

  • Storage: Let the bread cool completely before storing it. Keep it at room temperature in a paper bag, bread bag, or loosely covered container. For the best texture and flavor, enjoy within 2 - 3 days. Avoid storing whole wheat bread in the refrigerator, as it can cause the bread to dry out and lose its softness more quickly.

  • Reheating: Individual slices can be toasted directly from frozen. To reheat a larger portion of the loaf, let it thaw at room temperature, then warm it in a 160°C / 320°F oven for several minutes. For a crispier crust, lightly sprinkle the crust with water before reheating.

  • Freezing: This whole wheat bread freezes well. Once completely cooled, slice the loaf and place the slices in a freezer-safe bag or airtight container. Freezing individual slices makes it easy to take out only what you need. For the best quality, use within 3 months.

Equipment

  • HHeatproof bowl
  • SSilicone Spatula
  • WWhisk
  • SStrainer
  • LLoaf Pan 11 x 6 x 3" / 28 x 15 x 7.5cm